
Connect the Cropter to the Control HUB
A short description of how easy you can connect your Cropter or even your entire Cropter fleet to the Cropter Control HUB.
Watch the video or read the description below.
Single Cropter
1. First of all, install your Cropter and make sure to switch it on!
2. Make sure that your router is switched on and operating and that you have access to your router setup menu!
3. Connect your Cropter (back-side) to the Control HUB (front-side) by using the CAN bus cable.

4. Connect the Control HUB (back-side) to the router by using a standard LAN cable.

If you have trouble to connect the HUB via LAN cable to the Router/Modem you can instead use a WIFI range extender with a build-in LAN socket (like this one: https://www.tp-link.com/us/home-networking/range-extender/tl-wa850re)
5. Power up your Cropter Control HUB.
6. Enter the setup menu of the router and search for the IP address of the control HUB.
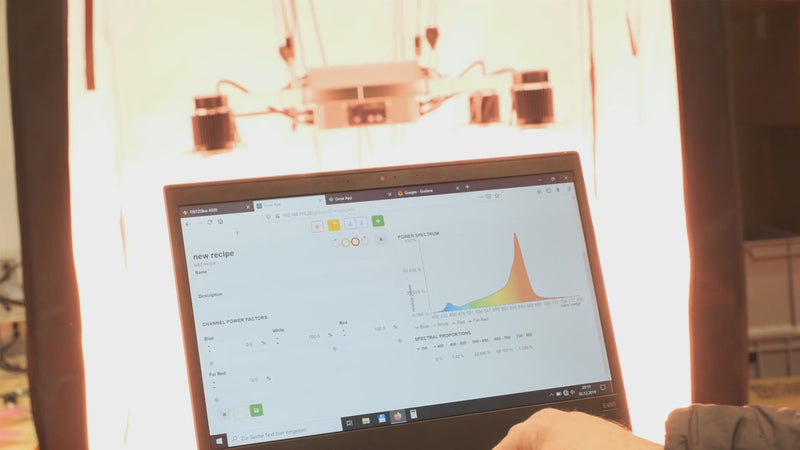
7. Access the user interface by inserting the IP address of the control HUB into the address line of the browser. (Make sure that your computer is in the same network as the control HUB)
8. Have fun!
Multiple Cropters
1. Follow the procedure explained above.
2. Simply daisy-chain your additional Cropter’s to the first one and wait until the remote LED on each Cropter indicates a remote connection.
3. Please insert the BUS terminator (see picture) into the last device:
